Ranch Approved is reader-supported. When you buy through links on our site, we may earn an affiliate commission at no extra cost to you.
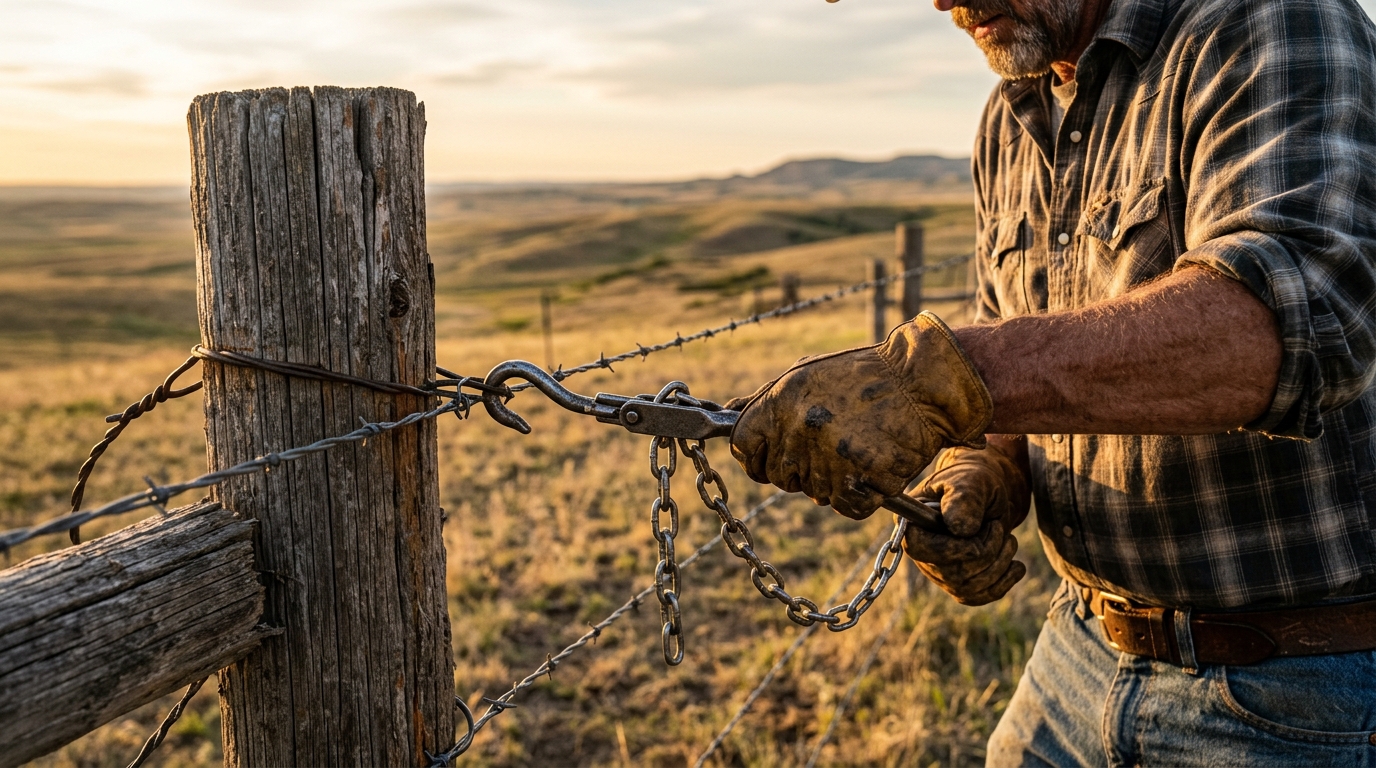
Few things will ruin a rancher’s morning faster than cresting a pasture ridge at sunrise and finding three strands of barbed wire slack in the dirt. Whether it was an oak limb snapped during a spring thunderstorm, a 2,000-pound herd bull testing perimeter boundaries, or decades of rust finally surrendering to a hard freeze, broken fence wire demands immediate, decisive action. Cattle have an uncanny sixth sense for slack wire, and if you do not fix it right away, you will be spending your evening rounding up strays off the county road.
The trouble is, most folks fix broken wire the wrong way. They cobble together a loose loop of baling wire, cinch it by hand, and bury two staples dead-tight into the post with a claw hammer. Three weeks later, the splice slips, the post splits along the grain, and the line is sagging again.
Repairing barbed wire so it holds for decades is not complicated, but it does demand proper technique, the right mechanical leverage, and respect for stored kinetic energy. In this field guide, we walk you through the battle-tested methods for splicing and stretching barbed wire: the classic Western Union splice for fast pasture fixes, modern crimp sleeves for high-tensile runs, proper chain stretcher rigging, and the essential staple-driving rules every stockman needs to know.
Why Barbed Wire Fails in the Pasture
Understanding why your wire snapped in the first place tells you what kind of repair is required:
- Livestock Pressure: Cattle, especially mature bulls, love rubbing their necks and flanks against taut wire strands to shed winter coats or relieve fly irritation. Over time, that constant cyclic loading elongates standard 12.5-gauge mild steel wire until it sags or pulls free from staples.
- Thermal Contraction and Expansion: Steel expands in 100°F summer heat and contracts violently during sub-zero winter cold snaps. A wire stretched dead-tight in August can contract several inches over a quarter-mile run when temperatures plummet to -15°F in January. If the wire has no room to slide through staples, the tensile stress spikes past its breaking strength, snapping the wire or snapping line posts.
- Falling Timber and Snow Loads: Dead oak branches, blowdowns, and heavy wet snowdrifts dump instantaneous shock loads on pasture fence lines.
- Galvanic Corrosion and Rust Pockets: Where brush, tall grass, or acidic soil contact the bottom strand, the protective zinc coating eventually degrades. Once bare steel begins pitting, its cross-sectional strength drops by more than 50%, creating an inevitable fracture point.
Essential Gear Checklist for Wire Repair
Before you jump into the pasture truck or side-by-side, ensure your fencing bucket is loaded with the proper tools. Fiddling with inadequate tools out in the brush wastes daylight and leads to sloppy splices that fail under tension.
| Tool / Material | Recommended Spec | Field Purpose | Top Recommendation |
|---|---|---|---|
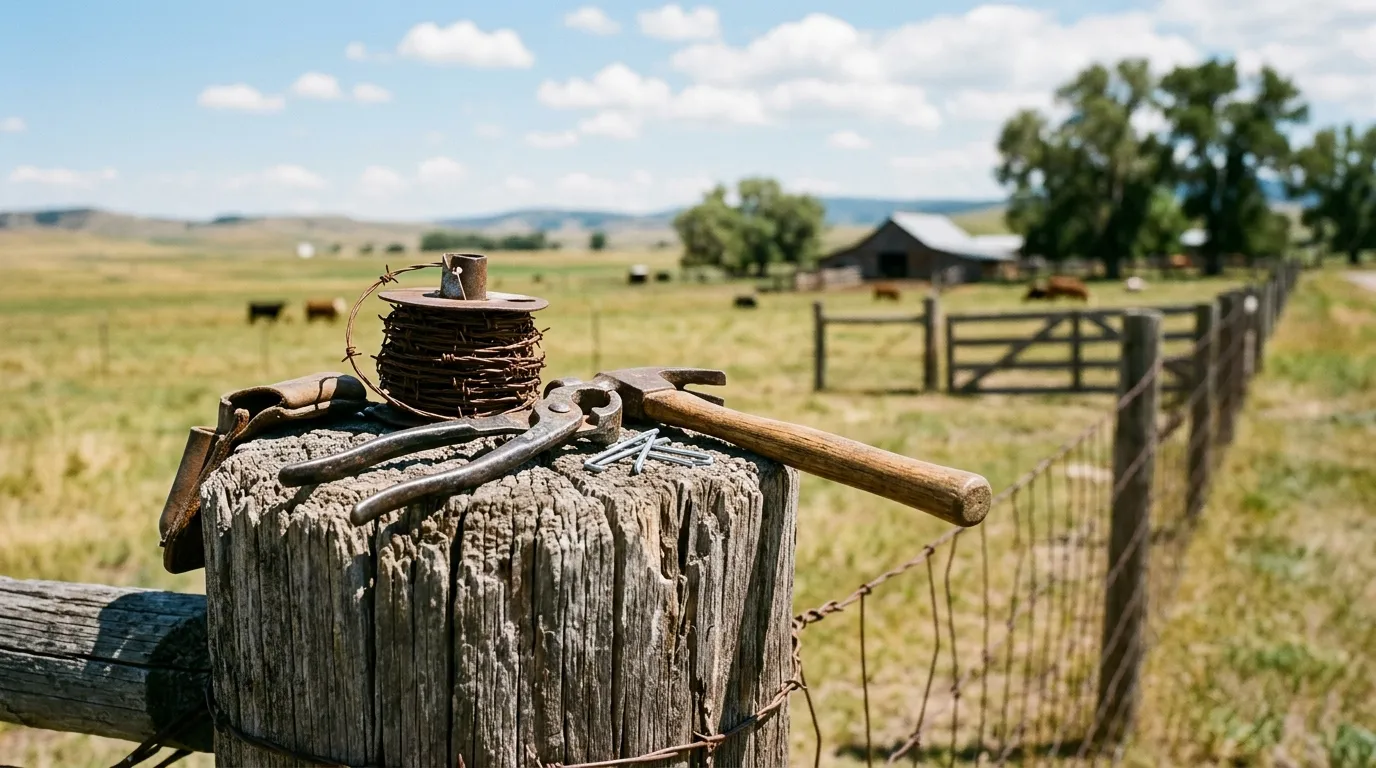
| Fencing Pliers | 10”–10.5” heavy forged steel with staple puller & dual cutters | Cutting wire, pulling staples, bending coils, hammering | Channellock 85 |
| Chain Wire Stretcher | Walking-pawl chain stretcher (1,000+ lb capacity) | Tensioning wire along post runs without violent whip-back | Maasdam 8060 |
| Fence Wire Grip | Spring-loaded parallel or wedge-jaw grip | Biting onto smooth or barbed wire without stripping zinc | American Power Pull |
| Swaging Tool & Sleeves | Multi-cavity hand swager with 2-3 crimp sleeves | Permanent compression splices for smooth & barbed core wire | iCrimp Swager |
| Replacement Wire | 12.5-gauge, 2-point or 4-point Class 3 galvanized | Pigtail jumper pieces to bridge long breaks | Class 3 Galvanized 12.5 ga |
| Fence Staples | 1.5” or 1.75” hot-dipped galvanized slash-point | Securing wire to cedar or treated pine line posts | Slash-point 9-gauge staples |
| Leather Fencing Gloves | Heavy cowhide or Kevlar-lined goatskin with gauntlet cuffs | Protecting palms and wrists from barbed wire punctures | Heavy Gauntlet Cowhide |
The undisputed backbone of any pasture repair kit. Handcrafted in Meadville, Pennsylvania from high-carbon C1080 steel with laser heat-treated cutting edges. Its curved hook makes short work of stubborn rusted staples, the knurled hammer face sets slash-point staples cleanly, and the precision gripping jaws allow you to wrap rock-solid Western Union coils without slipping.
An outstanding value alternative that punches far above its price tag. Forged from nickel-chromium steel with ProTouch molded grips that cushion your hands through hours of repetitive wire twisting. If you want a dependable pair to leave in the tractor cab or UTV glovebox, this is the tool to grab.
Looking to upgrade your fence tool bag? Be sure to read our hands-on field shootout: Best Fencing Pliers in 2026: 7 Top Picks Tested and Compared, where we put Channellock, IRWIN, Crescent, and Knipex through brutal pasture endurance tests.
Method 1: The Western Union Splice (Field Favorite)
The Western Union splice—originally engineered by telegraph linemen in the 19th century to maintain uninterrupted communications—remains the gold standard hand-knot across American ranches. When executed properly, a Western Union splice retains 85% to 90% of the original wire’s breaking strength, requires no specialized swaging dies, and will not slip under heavy tension.
       Wire A Standing Line ───────────┐
                                       │ ◄── Interlocking 90° Hooks
                               ┌───────┴────────── Wire B Standing Line
                               │
               ◄── 4 to 5 Tight Wraps    4 to 5 Tight Wraps ──►
When to Use It
Use the Western Union splice for standard 12.5-gauge mild-steel barbed wire repairs anywhere on your perimeter or cross fences when you only have your fencing pliers and hands available.
Step-by-Step Execution:
1. Clear the Working Zone and Strip Barbs
Locate the break. If the two broken wire ends were bent, kinked, or chewed up by cattle hooves, cut away the damaged section using the side cutters on your Channellock 85 pliers. You need clean, straight wire.
Next, remove any barbs within 8 to 10 inches of each working end. Use your pliers to untwist the barb coils and slide them off the core strands. Trying to splice over an existing barb prevents tight coil contact and guarantees premature slippage.
2. Splice in a “Pigtail” Jumper Strand (If Necessary)
Rarely do broken fence wires have enough slack to overlap without pulling the rest of the line out of whack. In 90% of field repairs, you must cut a 4-to-6-foot replacement section (“pigtail”) of matching 12.5-gauge wire to bridge the gap. You will perform two Western Union splices: one at each end of the jumper.
3. Form the Interlocking Core Hooks
Overlap the two wire ends by approximately 6 to 8 inches. Bend each wire at a crisp 90-degree angle toward each other so the bends hook together in the center. These interlocking hooks form the mechanical anchor that stops the wire from sliding axially when tension is applied.
4. Wrap the First Side (Minimum 4 to 5 Tight Coils)
Clamp the nose of your fencing pliers firmly over the interlocking center junction to hold both wires stationary. Take the free tail of Wire A with your gloved hand and bend it perpendicular across Wire B’s standing line.
Using the plier jaws as a fulcrum, wrap the tail tightly around the standing wire. Make at least 4 to 5 complete, consecutive coils. Each wrap must butt tight against the previous coil like threads on a bolt. Avoid loose, open spirals—open spirals will compress and elongate under tension, causing the splice to slip.
5. Wrap the Opposite Side
Transfer your plier grip to the finished side of the splice. Take the tail of Wire B and wrap it in the opposite direction around Wire A’s standing line for another 4 to 5 tight, consecutive coils.
6. Trim and Seat the Tag Ends
Never leave long, jagged tag ends sticking out. They catch livestock hair, puncture hide, and rip right through leather fencing gloves when you walk the line later. Cut the remaining tag ends flush to the line wire using your plier cutters, then gently clamp the cut tip flat against the core strand.
Pro Pasture Tip: Do not use the sharp cutter notches to bend your wire. Nicking galvanized wire creates a stress riser where fatigue fractures will begin next winter. Always use the rounded gripping jaws or the wire-gripping hole behind the pivot pin of your pliers to guide your coils.
Method 2: Crimp Sleeves (H-Splice)
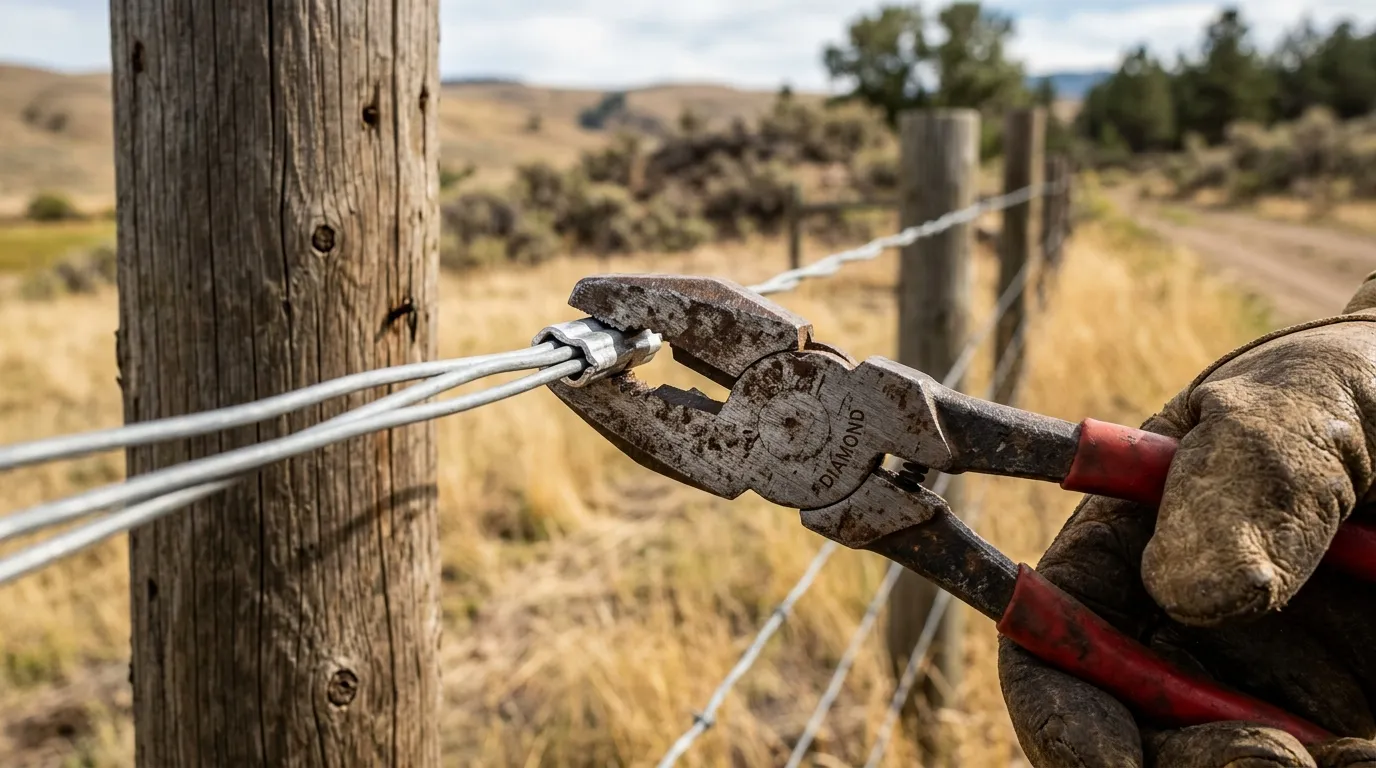
While the Western Union splice is the reigning king of quick hand repairs, zinc or aluminum-copper crimp sleeves (also called swage sleeves or H-splices) are the preferred modern choice for high-tensile wire and rapid commercial fencing repairs.
When to Use Crimp Sleeves
- High-Tensile Wire: Carbon-steel high-tensile wire (170,000 to 200,000 PSI) is too stiff and brittle to wrap tightly by hand without risking micro-fractures. Crimp sleeves are mandatory.
- Fast Production Work: If you have half a mile of storm-damaged fence to mend before nightfall, crimp sleeves take half the time of hand-tied splices.
- Maximum Strength Retention: A properly compressed double-barrel sleeve delivers 95% to 100% of the wire’s catalog breaking strength.
Single Crimp vs. Double Crimp
For low-tension interior garden fences or electric cross-fences, a single 1.5-inch crimp sleeve may suffice. However, for barbed wire and high-tensile cattle perimeters, always use two sleeves in series, spaced approximately 1 inch apart.
Under the crushing weight of a bull leaning through the fence, a single sleeve can shear the zinc coating and slip; dual sleeves distribute the shear load across twice the surface area.
Step-by-Step Swaging Procedure:
- Select the Correct Sleeve Size: Ensure your sleeves match your wire gauge. For standard pasture barbed wire, use 12.5-gauge double-barrel crimp sleeves.
- Strip Barbs and Insert Ends: Strip barbs back 6 inches. Slide the two wire ends through the twin parallel barrels from opposite directions (opposing entry). Ensure at least 1/2-inch of core wire extends out each end of the sleeve.
- Position the Swaging Tool: Open the jaws of your iCrimp Swaging Tool and place the sleeve in the matching cavity notch (marked for your sleeve size).
- Follow the Proper Press Sequence:
- Outer Edges First, Middle Last: Never crimp the exact center first, as this mushrooms the metal outward and traps air pockets.
- Make your first press approximately 1/8-inch from one outer edge.
- Make your second press 1/8-inch from the opposite outer edge.
- Make your third and fourth presses in the center zone.
- Inspect the Crimp: The sleeve should show clean, crisp rectangular indentations without cracked barrel walls. Use a swage go/no-go gauge if you are working on high-tensile containment lines.
Splice Comparison Table: Western Union vs. Crimp Sleeves
| Performance Factor | Western Union Splice | Crimp Sleeve (H-Splice) |
|---|---|---|
| Strength Retention | 85%–90% of wire rating | 95%–100% of wire rating |
| Time Required | 4–6 minutes per splice | 1–2 minutes per splice |
| Tools Needed | Standard fencing pliers only | Swaging tool & sized sleeves |
| Cost Per Splice | $0.00 (uses wire only) | ~$0.40–$0.75 per repair |
| High-Tensile Wire Safe? | No (causes wire fatigue/brittleness) | Yes (mandatory industry standard) |
| Durability in Weather | Excellent (no dissimilar metal corrosion) | Excellent (if using zinc/copper alloys) |
| Field Convenience | High (works anywhere, zero consumables) | Requires packing swager & parts |
How to Safely Stretch Barbed Wire
Once your splice is prepared, you face the most hazardous step of the entire operation: pulling the wire back to operating tension. A 12.5-gauge wire under tension stores tremendous potential energy. If an anchor post pulls, a grip slips, or brittle wire snaps, the recoiling strand will slice through denim, leather, and flesh in milliseconds.
A true ranch essential. Designed specifically for wire fencing, this walking-pawl chain stretcher grips round posts, square timbers, or T-posts without slipping, pulling wire smooth and controlled up to 1,000 lbs capacity. Its controlled walking action lets you tension wire notch-by-notch and release tension safely without violent handle kickback.
1. Anchoring the Stretcher
Always anchor your chain stretcher or come-along to a structurally sound anchor:
- A corner H-brace vertical post (the ultimate anchor).
- A solid mature tree directly in line with your fence run.
- A well-braced gate post.
- NEVER anchor to an unbraced line post or a single metal T-post. The lateral pull will bend the T-post or snap an unbraced wooden line post at ground level.
Wrap the anchor chain around the base of the brace post (as low as practical to minimize rotational leverage) and hook the pawl securely into the chain links.
2. Clamping the Wire Grip
Attach a dedicated wire clamp, such as the American Power Pull Fence Wire Grip, to the wire strand approximately 4 to 6 feet past your repair zone.
Make sure the serrated parallel jaws bite square across the main strand, not directly over a barb. Hook your stretcher’s pulling hook into the eye of the wire grip.
3. Tensioning: Finding the Sweet Spot
Begin ratcheting the stretcher arm. As tension builds, stop every three or four clicks to walk the line 30 yards in each direction. Check that the wire is not snagged on limestone rocks, cedar stumps, or brush. If wire hangs up on an obstacle, it creates uneven tension; the moment you pop it free, it will surge forward and break your grip.
How tight should barbed wire be?
- Standard 12.5-gauge pasture wire should be tensioned to approximately 250 to 300 pounds of pull.
- The Pluck / Musical Twang Test: Pluck the wire with your gloved finger 15 feet away from the post. A dull, floppy thud means it is too slack (under 150 lbs). A crisp, resonant, metallic twang signals proper tension.
- The Deflection Test: Press firmly on the wire midway between two 16-foot spaced line posts with the palm of your hand. It should deflect no more than 1.5 to 2 inches under moderate force and spring immediately back to dead flat.
Pro Cold-Weather Warning: Never stretch barbed wire “guitar-string tight” in the dead heat of July or August. High summer heat expands steel. If you pull a wire to 350+ lbs in 95°F heat, winter temperatures of 0°F will contract the steel, spiking tension beyond 500 lbs and snapping corner braces or shearing the wire.
4. Relieving Tension Safely
Once your final splice is locked or the wire is stapled into place, never pop the quick-release lever on a come-along under full load. The sudden release shocks the entire fence line and can cause violent whip-back.
Use the reversing pawl on your Maasdam 8060 to back the tension down link by link until the new splice accepts the full load smoothly.
How to Staple Barbed Wire Correctly
You can tie the prettiest splice on earth and stretch it to perfection, but if you drive your staples incorrectly, your fence will fail within two seasons. Stapling is where 80% of ranchers make critical mistakes.
Mistake #1: Driving Staples Dead-Tight
The single most common mistake on American ranches is pounding the staple flush into the post until it crushes the wire flat against the wood.
Why this ruins your fence:
- Crushed Galvanizing: Driving the staple hard against the steel strips away the protective zinc coating. The bare core steel is now exposed to trapped moisture in the wood grain, creating a rapid rust hot-spot.
- Eliminates Thermal Float: As seasons change, wire must expand and contract freely along the entire line. If wire is pinned solid at every post, thermal stresses cannot distribute across the fence run. Stress concentrates entirely at the staple pinch-point until the wire snaps.
- Shock Absorption: When a 1,500-lb heifer bumps a fence line, loose staples allow the entire 300-foot run of wire to absorb the deflection like a giant spring. If staples are buried tight, that dynamic impact hits a single post, popping staples or snapping the wire.
The Golden Rule: Always leave enough clearance for the wire to “float.” You should be able to wiggle the wire with your fingers, or slide a common 8-penny nail between the staple crown and the wire.
       WRONG: Driven Vertical & Buried Tight       CORRECT: Angled 45° with Floating Clearance

              [Post Grain ||||]                         [Post Grain ||||]
                   │                                         ╲
                   │  ◄── Splits wood grain                   ╲ ◄── Crosses wood grain
                   │                                           ╲
             [====(•)====] Wire crushed flat             [====( • )====] Wire floats freely
The 45-Degree Grain Angle Rule
Wooden fence posts (whether cedar, treated southern yellow pine, or black locust) have vertical grain rings running parallel from top to bottom.
If you drive a two-pronged fence staple perfectly vertical, both sharp slash points penetrate the exact same grain ring. The staple acts as a splitting wedge, opening a vertical fissure down the post. Rain enters the split, rot accelerates, and within two seasons, the staple pulls out by hand.
Always rotate the staple 45 degrees across the vertical grain:
- The top prong enters one wood grain ring.
- The bottom prong enters a different wood grain ring.
- Holding power increases by more than 40%, and the post will not split.
Terrain Adaptations: Hills and Hollows
- On Hill Crests (Rises): The wire naturally exerts a downward pull on the post. Angle your staple prongs slightly upward into the wood so the upward-angled prongs resist downward pullout.
- In Draws (Hollows & Valleys): The wire naturally wants to lift toward the sky. Angle your staple prongs slightly downward into the wood to lock the wire down against upward tension.
Integrating an Electric Offset Wire for Trouble Pastures
If you are constantly repairing the same pasture line because herd bulls or stockers lean through the barbed wire to graze adjoining pastures, mechanical wire alone will never permanently solve your problem. Cattle will test wire until something gives.
The professional solution is installing an offset electric wire 5 to 7 inches off your existing barbed wire fence line.
          [T-Post or Wood Post]
                   │
    Barbed Wire ───┼── (Existing strands)
                   │
                   └───[5"–7" Insulator Bracket]═════► High-Voltage Hot Wire (5,000V+)
By mounting an offset high-tensile hot wire at cattle shoulder height (30 to 32 inches off the ground) or knee height for calves, livestock receive a memorable, high-voltage psychological deterrent before their hide ever contacts the barbed wire. The physical fence stays completely tensioned and unmolested for years.
Essential Energizer & Monitoring Guides
An offset wire is useless if cattle can walk through it without feeling a crisp shock. You need an energizer with enough joule output to power through weeds and long perimeter pasture runs:
- Selecting the Right Charger: If you are electrifying pasture perimeters or remote acreage, check out our field evaluation of the Best Electric Fence Chargers for Cattle in 2026: 8 Energizers Reviewed, featuring top AC, DC, and solar-powered models from Gallagher, Patriot, and Cyclops.
- Finding Faults Fast: Nothing drops voltage faster than tall prairie grass or fallen brush grounding out your offset wire. Instead of hiking miles in the hot sun searching for a short, carry an inline digital voltmeter with directional arrow readouts. Read our guide to the Best Electric Fence Testers in 2026: 6 Reliable Picks for Faster Fault Finding.
Vital Field Safety Rules
Fencing is among the most injury-prone tasks on any working agricultural operation. Before pulling tension on steel wire, commit these field rules to memory:
- Protect Your Eyes: Never stretch wire or cut high-tensile steel without ANSI-certified Z87.1 safety glasses. When barbed wire snaps under 300 lbs of tension, barbs become high-speed shrapnel traveling at eye level.
- Wear Heavy Gauntlet Gloves: Cheap cotton or thin synthetic gloves offer zero protection against barbed wire punctures. A slip can drive a rusty barb into your palm or wrist tendons, leading to severe deep-tissue infections and emergency tetanus shots. Use heavy cowhide or Kevlar-lined gauntlet work gloves.
- Never Straddle the Wire: When ratcheting a come-along or chain stretcher, never straddle the wire between your legs or stand directly in the line of pull. Always stand to the outside, positioned so that if the wire snaps or a grip blows off, the wire snaps away from your body.
- Inspect Weathered Wire Before Pulling: If an old strand has dark red flaking rust scale or deep pitting, do not attempt to tension it back to 300 lbs. It will snap. Cut out the degraded section entirely and splice in new Class 3 galvanized wire.
Summary Field Checklist
Keep this checklist handy when heading out to repair pasture fence lines:
- Strip Barbs: Clean 8–10 inches of bare core wire before beginning splices.
- Western Union Wraps: Minimum 4 to 5 tight, consecutive coils each direction using fencing plier leverage.
- Crimp Sequence: Use two double-barrel sleeves on cattle fences, crimping outside edges before the center.
- Anchor Stretcher Low: Chain only to braced H-posts or heavy tree trunks; never unbraced line posts.
- Target Tension: 250 to 300 lbs (resonant metallic twang; 1.5” to 2” mid-span deflection).
- Leave Staple Clearance: Wire must slide freely through staples to allow thermal expansion and shock absorption.
- Angle Staples at 45°: Cross the wood grain to prevent splitting posts and double holding power.
Doing the job right out in the pasture takes five minutes longer than a slapdash twist of baling wire, but it buys you ten years of trouble-free livestock containment. Load your bucket, put on your gloves, and keep your fencelines straight, taut, and secure.